In response to some of the excellent demonstrations by @Austral_BIM_Chile love on his Youtube channel, I wanted to share 2 things we have in place to help with the referencing of Navisworks into Revit.
Revit:
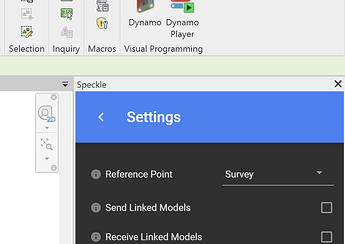
Already available in the Revit Connector is the ability to modify the point where incoming content is placed.
This uses the Reference Point setting in Advanced settings on Receive. Whichever point you specify here will effectively specify a proxy for the internal origin of whatever Speckle data you have.
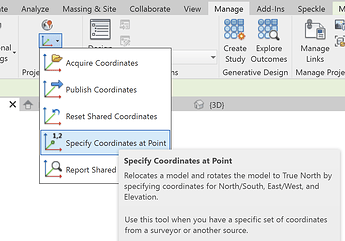
If you use this in combination with the Revit Survey Point and Project Base Point, this will place the Speckle origin relative to the survey point at zero. To set this correctly, do not move either point but use the “Specify coordinates at point” tool. Select the internal origin or project basepoint.
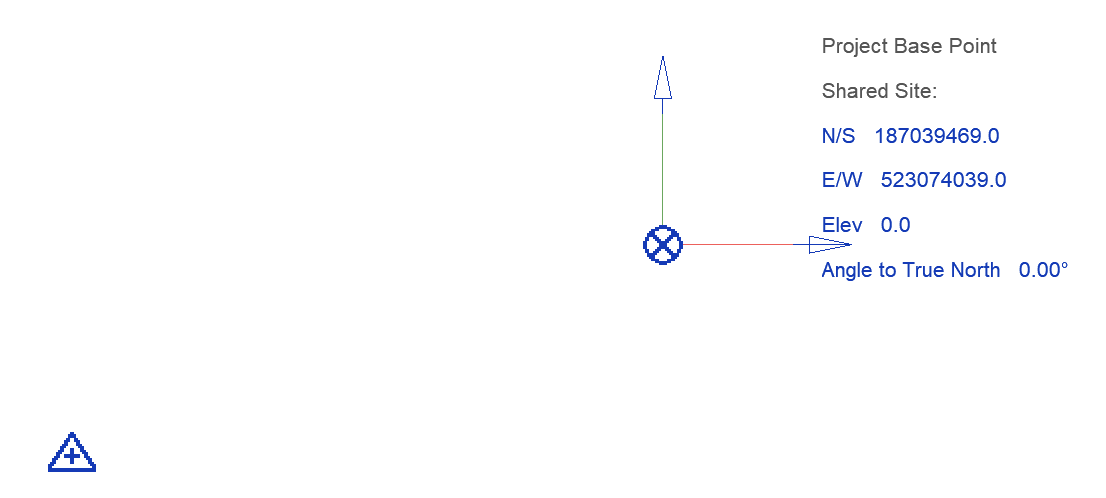
The survey will move away from Revit’s origin, the Project basepoint will stay in place at 0,0 but will read the coordinates you set.
Navisworks:
Coming soon in 2.12 are some changes to the Navisworks alpha Connector. By default the Connector will continue to export the geometry to whatever global coordinate space your model is in (in metres)
The two new options are:
-
Project Base Origin.
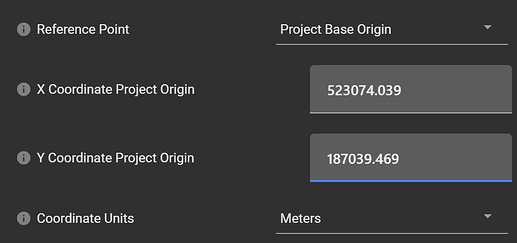
This is similar to Revit method in reverse. Here you are selecting a position within Naviswork’s global coordinates that the Speckle data’s origin to represent. i.e. the whole model translates from that point to 0,0
-
Bounding Box Centre
If you don’t have any particular need for an accurate, consistent between commits translation, this option will move the model from the X,Y centre of the bounding box of the selection to 0,0.
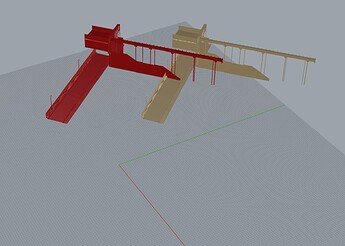
Bounding box translation received by Rhino in ![]()
Specified coordinate method in ![]()
